Your Ultimate Handyman Guide to Installing Shelves
Looking to upgrade your space with shelves? This handyman guide to installing shelves walks you through everything you need to know. From picking the right wall to avoiding common mistakes, you’ll get step-by-step tips for a sturdy, stylish, and hassle-free installation. Perfect for DIY enthusiasts wanting professional results in 2026.
Let’s be honest: we’ve all seen that one shelf. You know the one—it’s slightly tilted, feels a bit “wobbly,” and you’re pretty sure if someone sneezes too hard, the potted plant on top is going for a ride. At Handyman Home Doctor, we believe every homeowner should feel confident holding a drill. Adding shelves is the perfect “gateway” DIY project.
It’s satisfying, functional, and—once you know the secrets—surprisingly easy. Whether you’re organizing a pantry or installing floating shelves for that sleek minimalist look, this beginner shelf installation guide will ensure your project stays level and stays put.
Before You Drill: A Handyman Guide to Installing Shelves
The biggest mistake beginners make is treating every wall the same. Before you even look at a bracket, you need to identify what’s behind your paint.
Drywall vs. Concrete Wall
- Drywall (Plasterboard): Most modern homes are built with this. It’s essentially chalk sandwiched between paper. It’s easy to drill into, but it has almost zero wall support strength on its own. You must find a stud or use heavy-duty wall anchors.
- Concrete or Brick: Found in basements or older homes. These walls are rock solid but require a masonry bit and a bit more elbow grease.
Respecting Weight Capacity
Before buying materials, ask yourself: What is actually going on this shelf? A few succulent plants weigh almost nothing. A collection of “Encyclopedia Britannica” weighs a ton. If you’re going heavy, you need to anchor directly into the wooden studs—no exceptions.
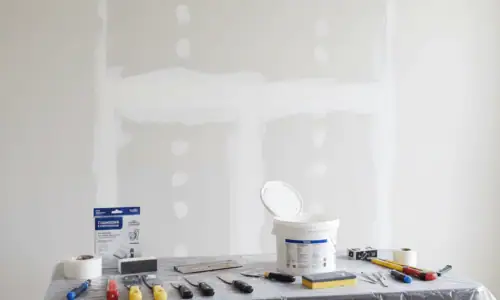
The Handyman’s Toolbox
You don’t need a professional workshop, but you do need the right shelf installation tools. Using the wrong screw is the fastest way to turn a 20-minute job into a weekend-long drywall repair project.
- Stud Finder: Your best friend for finding the wood framing behind the wall.
- Level Tool: Don’t trust your eyes; they lie. A level ensures your shelf is perfectly horizontal.
- Measuring Tape: For consistent spacing and positioning.
- Drill and Screws: A standard cordless drill is perfect.
- Wall Anchors: These “grip” the drywall when you can’t find a stud.
- Safety Precautions: Always wear eye protection. Drywall dust in the eye is a literal pain.
Handyman Guide to Installing Shelves: Step-by-Step Installation
Follow these wall shelf installation steps to get it right the first time.
Step 1: Hunt for Studs
Use your stud finder to locate the vertical wooden beams. Mark the center of the stud with a light pencil mark. Pro tip: Studs are usually spaced 16 or 24 inches apart.
Step 2: Plan Your Spacing
Hold your shelf up. Is it at eye level? Is it centered over the couch? Use your measuring tape to mark exactly where the top of the shelf or the mounting brackets will sit.
Step 3: Get Level
This is where the magic happens. Place your level tool across your marks. Adjust until that little bubble is dead-center. Mark your drill holes while the level is in place.
Step 4: The Point of No Return (Drilling)
- Into a Stud: Drill a small pilot hole. This prevents the wood from splitting and makes it easier to drive your screw types and sizes.
- Into Drywall: If there’s no stud, you’ll need to drill a larger hole to fit your wall anchors. Push the anchor in until it’s flush with the wall.
Step 5: Secure the Brackets
Align your mounting brackets with the holes and drive the screws home. Give the bracket a firm tug. If it moves, tighten it. If it still moves, you might have the wrong anchor for the job.
Handyman Guide to Installing Shelves: The Modern Floating Touch
Installing floating shelves is the ultimate home upgrade, but they can be finicky. Unlike traditional brackets, floating shelf brackets are hidden inside the shelf itself. Because the hardware is invisible, alignment and leveling are twice as important. Even a 1-degree tilt at the wall will look like a massive slope at the edge of the shelf. Take your time here!
Choosing the Right Hardware
Not all screws are created equal. Using a tiny craft screw for a bookshelf is a recipe for disaster.
| Hardware | When to Use It |
| Wood Screws (2″+) | Best for going deep into wall studs. |
| Toggle Bolts | The “nuclear option” for heavy loads on drywall. |
| Plastic Plugs | Great for light decor and picture ledges. |
| Masonry Screws | Specifically for brick or concrete. |
Handyman Guide to Installing Shelves: Common Mistakes to Avoid
We’ve seen it all at Handyman Home Doctor. Here’s how to avoid the “oops” moments:
- The “Guess-ti-mate”: Never assume your floor or ceiling is level. Always use your level tool.
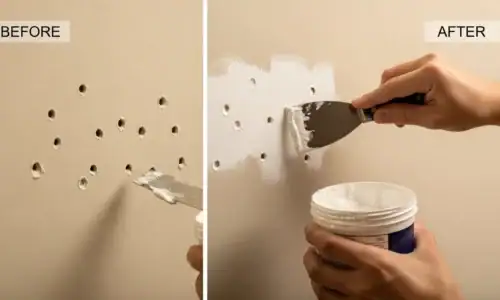
- Ignoring Pipes: Before you drill, check what’s on the other side of the wall. If there’s a bathroom or kitchen nearby, be mindful of plumbing!
- Over-tightening: If you’re using a power drill, don’t go full speed at the end. You can strip the hole or crack the shelf.
Final Thoughts
You don’t need to be a master carpenter to have beautiful, sturdy shelving. It’s all about preparation, the right shelf installation tips, and having the patience to measure twice and check our reviews. Once you hang that first shelf and see it holding firm, you’ll be looking for every empty wall in the house to “doctor” up!
Related Posts
